Ok at last my new i5 build is complete! Still working on the software side though but so far everything is going flawlessly. Here is the pics and description of my build!
The new build, code-named "Jupiter II" was assembled with the following components:
Silverstone GD05B mATX case
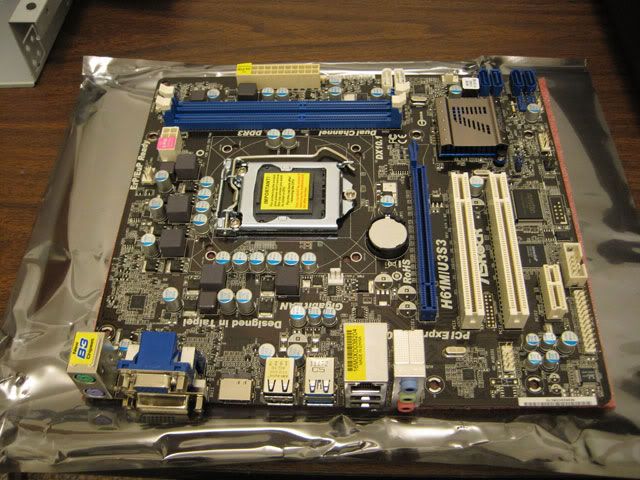
ASRock H61M/U3S3 mATX motherboard
Intel i5 2500 CPU
SILVERSTONE Strider Plus ST50F-P 500W ATX 12V v2.3 & EPS 12V 80 PLUS BRONZE Certified Modular Active PFC Power Supply
G.SKILL NS 4GB (2 x 2GB) 240-Pin DDR3 SDRAM DDR3 1333 (PC3 10666)
EVGA 01G-P3-1351-KR GeForce GTS 450 (Fermi) 1GB 128-bit GDDR5 PCI Express 2.0
Parts that I have already on hand (and transplanted from other HTPC):
1TB Hitachi Deskstar 7200RPM SATA II hard drive
100GB Hitachi 7200RPM SATA Laptop hard drive
Samsung BD/DVD ROM drive
Ceton InfiniTV 4 Tuner Card
The parts and the assembly prep table:
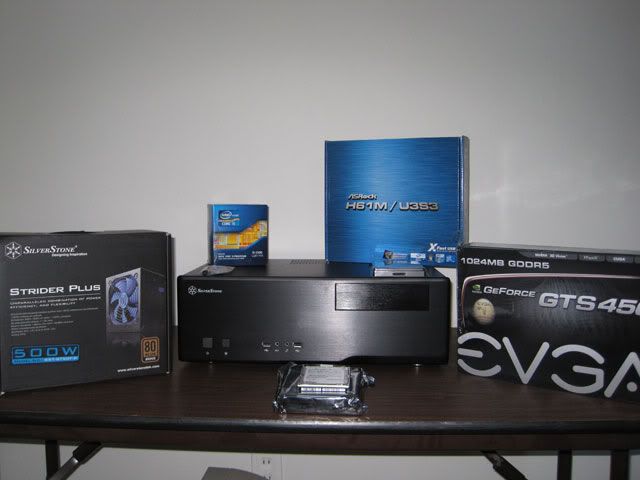

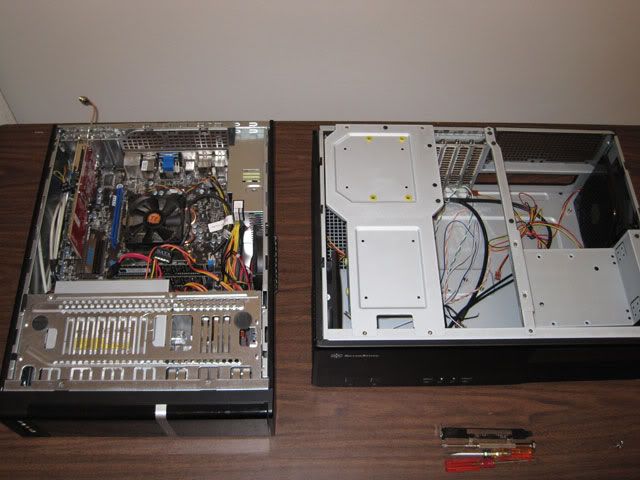
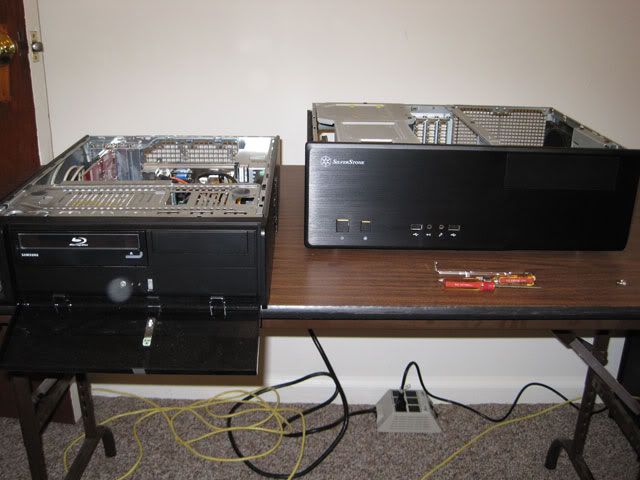
My two HTPC systems sitting side-by-side....the i3 Clarkdale system "Gemini" is on the left and the new case on the right will house the new system "Jupiter II" Some parts like the Ceton, 1TB hard drive and the Samsung BD drive will be transferred to the new system.
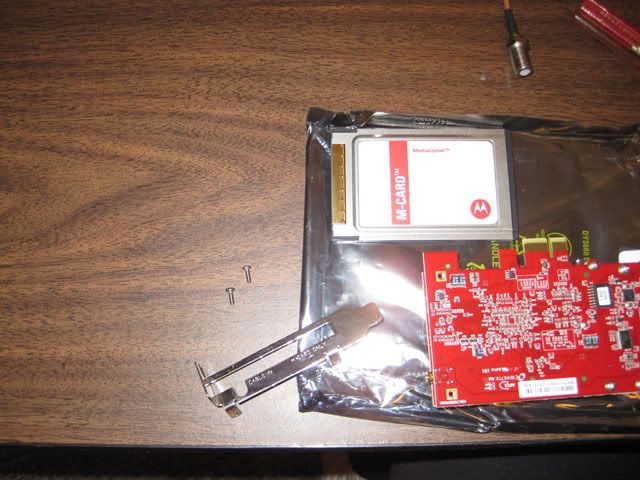
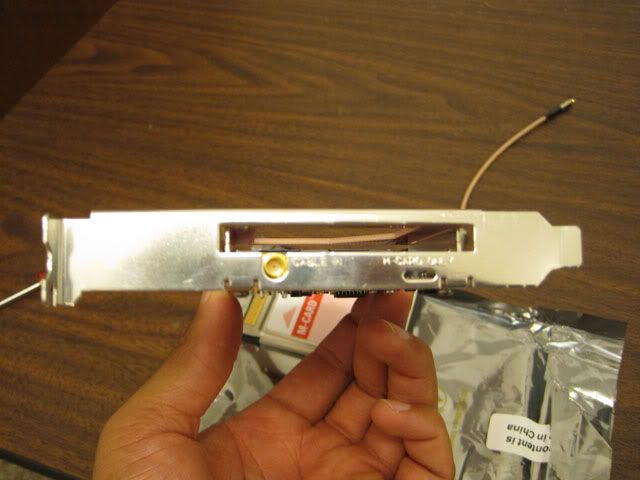
First thing I had to do was to remove the Ceton card from "Gemini" but since I had the low-profile bracket installed I had to remove the CableCard first (since it interfered with removal) and then afterward removing the low profile bracket. Full height bracket was then reinstalled. Afterward I set the card aside to be installed later.

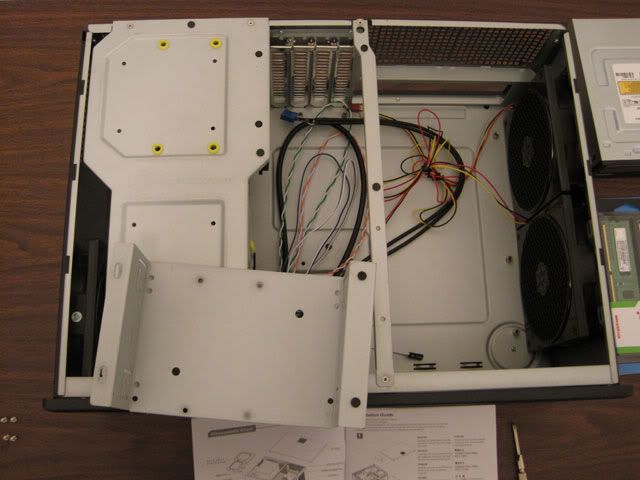
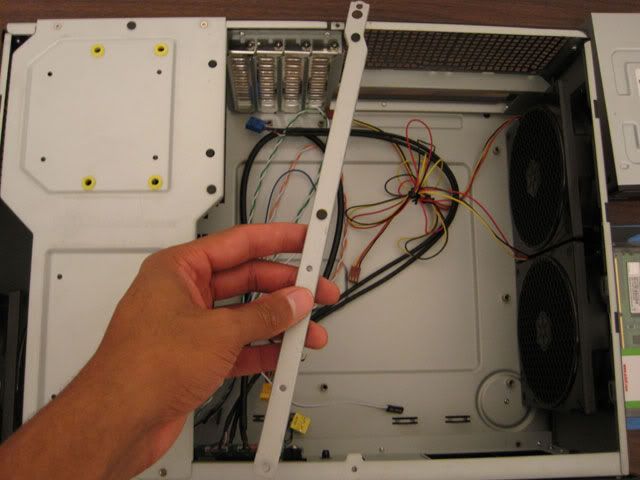
Removal of the optical drive bracket, center and hard drive bracket:

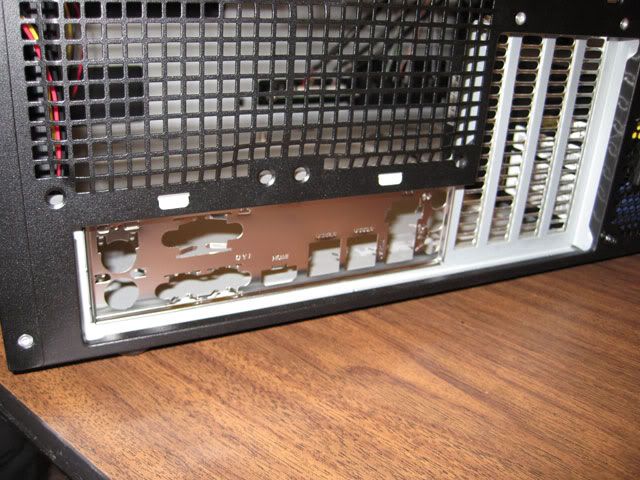
Installed the I/O shield:
Installed the rubber feet that was supplied to the PSU to mount inside the case:
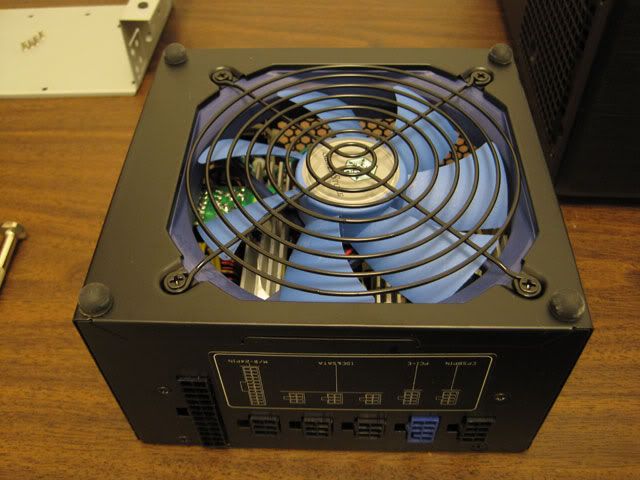
PSU mounted inside the case:

Next up was preparing the motherboard for installation, laid atop of the antistatic shield for protection:
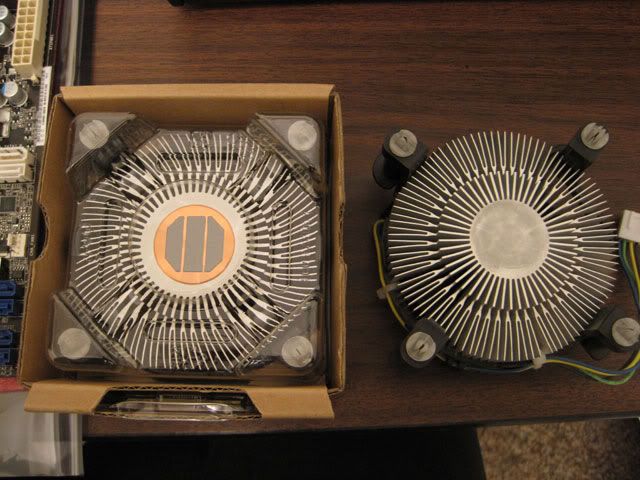
Comparison of the stock CPU coolers. I like the fact that the one that came with the i5 has a copper bottom as compared to the one on the right. I thought to remove the original paste and apply the Artic Silver 5 but decided to leave it and see how well it would perform.
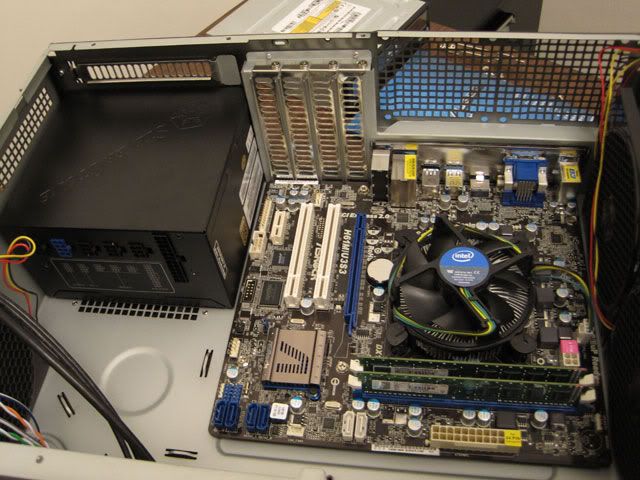
CPU, Cooler and the RAM installed. The cooler wasn't that hard to install at all. Hearing how so many people have a hard time with the push pins, I had no trouble getting them in place. But then again I have an eye for detail. Be sure that the wires for the CPU cooler fan doesn't interfere with the fan itself when connecting it to the cpu fan header.

Motherboard installed in the case:
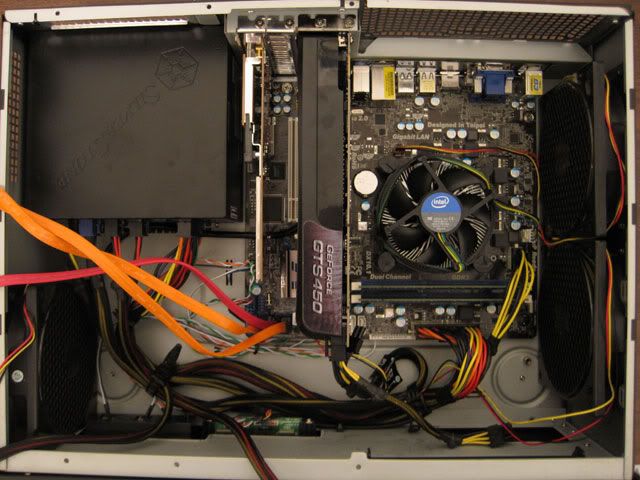
Video card and the Ceton card is now in place, and there is sufficient room in between the Ceton and the GTS 450 since the Ceton puts out alot of heat under load.
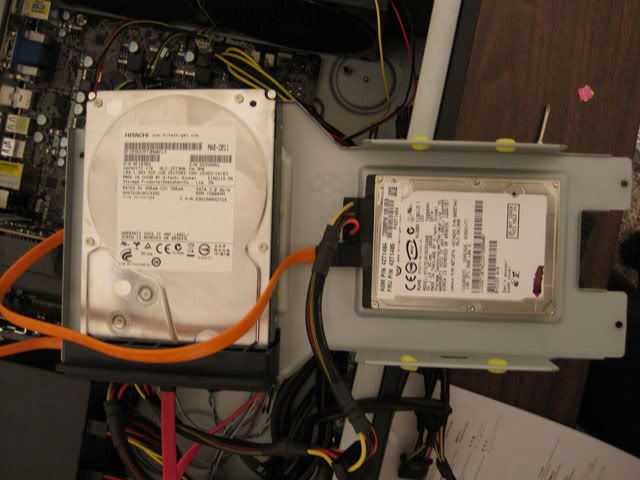
Laptop drive installed in its place, and the 1TB drive in its place:
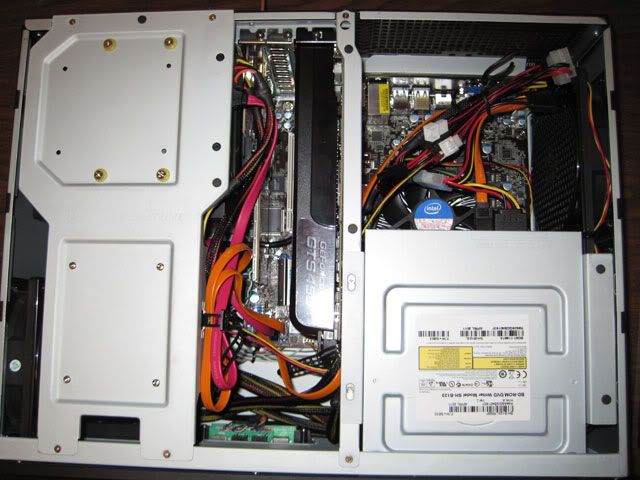
Everything coming together, including the installation of the BD drive. No problems of course with the clearance of the stock CPU cooler. Tried doing the cable management as neatly as I could throughout the build so it wouldn't be a spaghetti mess.
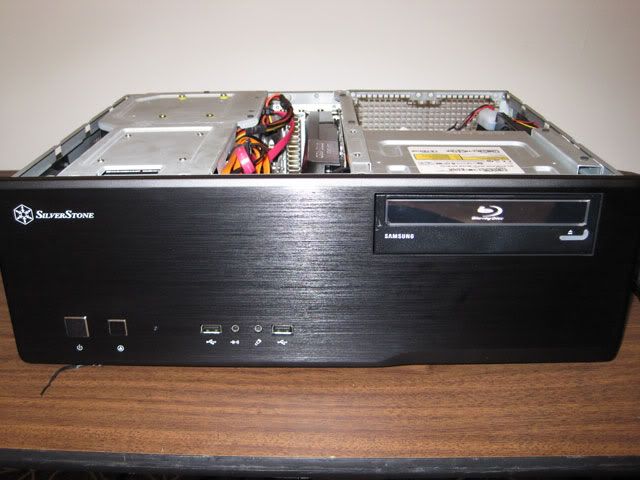
Front view of the finished build:
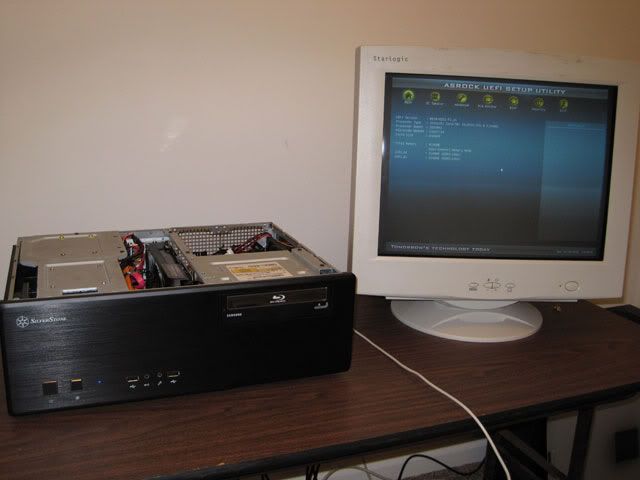
Finally ready to fire it up...."Jupiter II" lives!! First pic was with CRT monitor as I used it to do the initial BIOS settings before moving it to the living room area.
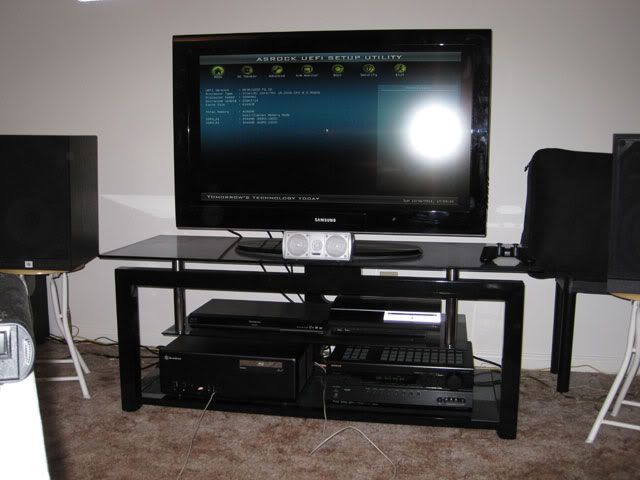
And the final test: getting video on the big screen, via the HDMI output from the GTS 450:
I really enjoyed this build...now comes the fun part in doing the software and comfigurations. As for the Ceton card, even though I had to remove the CableCard temporarily to transplant the Ceton card to the new system, and installed all the updated drivers, WMC had no problem finding the card and was back to watching TV again in no time. Be sure to get all of the updated drivers from the manufacturer's website for your motherboard as well as the video card (if you added a discrete card). Took me most of the night to do the build but I learn more and more each time, especially on doing cable management better. Now I can redo my Clarkdale system and prep it for bedroom use.
The case fans are doing a great job...I felt lots of cool air moving about inside the case and now with HWMonitor installed, CPU temps are settled at about 32 C at idle. A quick test using Prime95 for a few hours temps were at 60 C at 100% load. Not too shabby.
In addition, I will do away with the keyboard and mouse once some of the initial configurations are done, and I will install TightVNC to control Jupiter II from my laptop. This will eliminate me from having to get a wireless keyboard and mouse and I have my Harmony for all the Media Center operations. Only time I would actually need use of a keyboard would be to open a web browser or do some immediate changes that warrants it.
Enjoy!


 Author
Topic: New i5 HTPC Build "Jupiter II" (Read 4476 times)
Author
Topic: New i5 HTPC Build "Jupiter II" (Read 4476 times)